
Selecting the Perfect Guavas
Let me tell you something that took me years to figure out – not all guavas make great jelly. While I grow several varieties on my farm, from Thai pink to Mexican cream guavas, I’ve found that the traditional white-fleshed varieties create the clearest, most flavorful jelly.
The trick lies in catching the bayabas (Filipino term for guava) at just the right moment. You want them slightly underripe – when they’re still firm but have just started to yellow. At this stage, they’re loaded with natural pectin, which is absolutely crucial for achieving that perfect jelly set.
I always tell my customers that picking guavas for jelly is like choosing a dance partner – timing is everything. Too ripe, and you’ll end up with a cloudy jelly that refuses to set properly. Too green, and your jelly will taste more tart than that time my goat got into the lemon grove!
Here’s a pro tip: gather your fruits in the early morning when they’re still cool from the night air. The natural oils in pera guava (another common name) are most pronounced at this time, leading to a more aromatic final product.
Essential Equipment and Ingredients
Now, I’m not one for fancy gadgets – farming has taught me to keep things simple. However, making perfect guava jelly does require a few non-negotiable items. Think of these as your jelly-making toolkit:
- A large, heavy-bottomed pot (my grandmother’s copper pot is my secret weapon)
- A jelly bag or cheesecloth (crucial for achieving that crystal-clear finish)
- A candy thermometer (yes, it matters!)
- Clean mason jars with new lids
- A fruit crusher or potato masher
For ingredients, we’re keeping it pure and simple. You’ll need:
- 4 pounds of slightly underripe guavas
- 4 cups of granulated sugar
- 1/4 cup of lemon juice
- Water
The Magic Process
Here’s where the real magic happens, folks. First, roughly chop your guavas – no need to peel them, as the skin contains loads of pectin. Cover them with water in your pot, just enough to keep them from sticking. I like to think of it as giving them a nice warm bath.
Bring this mixture to a boil, then reduce to a simmer. Here’s where patience becomes your best friend. Let those fruits break down slowly, releasing their essence into the water. You’ll know you’re on the right track when your kitchen starts smelling like a tropical paradise.

The next morning, measure your juice and add sugar in a 1:1 ratio. Add your lemon juice (this isn’t just for taste – it helps with the set), and bring the mixture to a rolling boil. Keep an eye on your thermometer – you’re looking for that magical moment when it hits 220°F (or 104°C).
Troubleshooting Common Issues
Let’s be honest – even after years of making guava jelly, sometimes things don’t go as planned. The most common issue I see is jelly that refuses to set. Usually, this happens when the fruits are too ripe or when the boiling temperature wasn’t quite high enough.
If your jelly’s too cloudy, you probably got a bit impatient with the straining process. Remember, no squeezing! It’s like trying to rush a sunrise – some things just take the time they take.
Sometimes the jelly can crystallize if you’ve added too much sugar. This is why measuring is crucial – making jelly is more like chemistry than cooking. Trust me, I learned this the hard way after ruining an entire batch from my prized Brazilian guavas.
And if you notice any bubbles in your final jelly, you probably didn’t skim off the foam during the boiling process. It’s an easy fix for next time!
Storage and Serving Suggestions
When properly sealed in sterilized jars, your guava jelly can last up to a year. Store them in a cool, dark place – I keep mine in the old root cellar beneath my farmhouse. It’s like a treasure trove of sunshine-captured-in-jars down there!
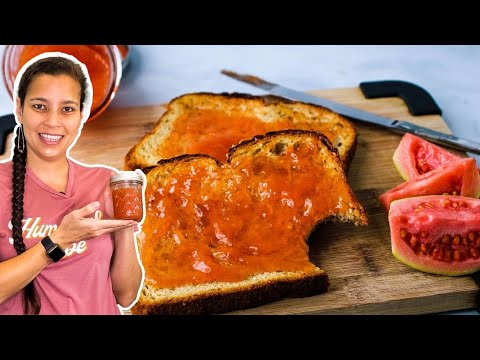
While guava jelly is fantastic on your morning toast (who am I kidding – it’s great any time of day), don’t limit yourself. I love using it as a glaze for roasted meats, especially pork. The sweet-tart flavor adds a tropical twist to any dish.
Try warming it slightly and drizzling it over vanilla ice cream – it’s like a taste of summer in the middle of winter. Or add a spoonful to your morning yogurt for a burst of tropical goodness.
Remember to label your jars with the date and variety of guava used. Trust me, once you start experimenting with different varieties, you’ll want to keep track of your favorites!